

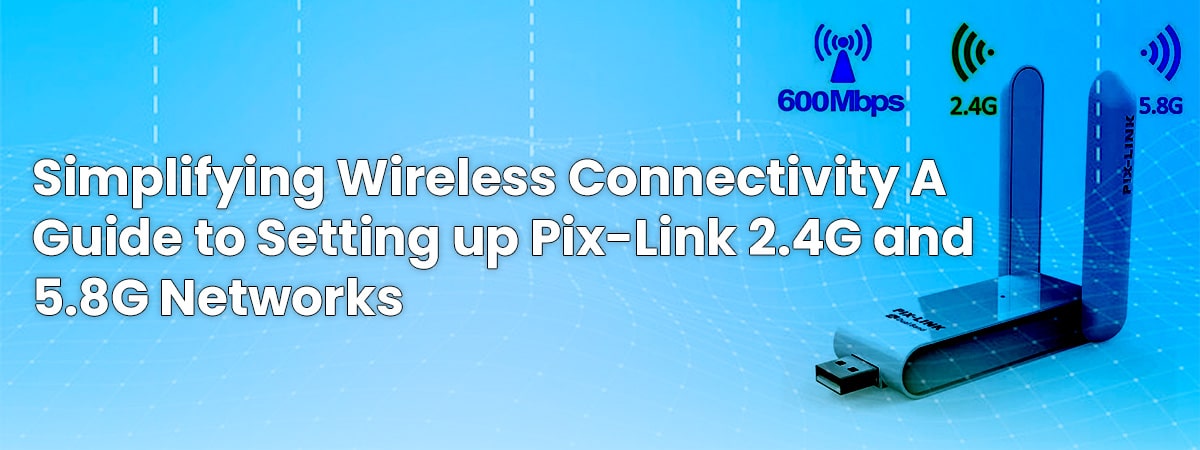
Introduction:
In today’s digital age, wireless connectivity plays a vital role in our daily lives. Pix-Link offers reliable and efficient wireless networking solutions, including their 2.4G and 5.8G routers. In this article, we will provide a step-by-step guide to help you set up and configure your Pix-Link 2.4G and 5.8G networks, ensuring seamless connectivity for your home or office environment.
- Gather the Necessary Equipment:
Before setting up your Pix-Link network, make sure you have all the required equipment, including the Pix-Link router, power adapter, Ethernet cable, and a computer or mobile device for configuration. - Connect the Hardware:
Start by connecting your Pix-Link router to the power source using the provided power adapter. Connect one end of the Ethernet cable to the WAN (Wide Area Network) port of the router and the other end to your modem or ISP’s Ethernet port. - Access the Router Configuration Interface:
Open a web browser on your computer or mobile device and enter the default IP address of your Pix-Link router into the address bar. This IP address is typically mentioned in the user manual or printed on the router itself. Press Enter to access the configuration interface. - Login to the Router:
Once you access the configuration interface, you will be prompted to enter the login credentials. Consult the user manual or default login details provided by Pix-Link to log in to the router’s administrative dashboard. - Configure Wireless Settings:
Navigate to the Wireless Settings section in the configuration interface. Here, you can customize the network name (SSID) and set a strong password for both the 2.4G and 5.8G networks. It is recommended to use unique and secure passwords to protect your wireless network. - Adjust Advanced Settings (Optional):
If desired, you can explore the advanced settings to customize additional features such as guest networks, parental controls, QoS (Quality of Service), and firewall settings. These settings allow you to optimize your network’s performance and security based on your specific requirements. - Save and Apply Changes:
Once you have made the necessary configurations, save the settings and apply the changes. The router will restart, and your Pix-Link 2.4G and 5.8G networks will be ready for use.
Conclusion:
Setting up your Pix-Link 2.4G and 5.8G networks is a straightforward process that ensures reliable wireless connectivity in your home or office environment. By following these simple steps, you can configure your Pix-Link router, customize wireless settings, and optimize advanced features to create a secure and efficient wireless network. Enjoy seamless connectivity and enhanced internet experiences with Pix-Link’s reliable wireless solutions.