

Optical Network Units (ONUs) are a critical component of Fiber-to-the-Home (FTTH) networks, as they provide high-speed internet access, as well as voice and video services. Proper installation and configuration of ONUs is essential for ensuring reliable service and optimal performance. In this article, we’ll explore the key steps involved in installing and configuring ONUs.
Pre-Installation Considerations
Before installing an ONU, there are several factors that should be considered. These include the location of the ONU, the type of mounting hardware required, and the availability of power and connectivity.
The location of the ONU is important, as it can affect signal strength and performance. Ideally, the ONU should be located in a well-ventilated area with good airflow, and away from sources of electromagnetic interference (EMI), such as radios or other wireless devices.
The type of mounting hardware required will depend on the specific ONU model and the location where it will be installed. Some ONUs can be mounted directly to a wall, while others may require a mounting bracket or other hardware.
Finally, the availability of power and connectivity is critical. ONUs typically require both power and data connections, so it’s important to ensure that these are available at the installation location.
ONU Installation
Once the pre-installation considerations have been addressed, the next step is to install the ONU itself. The following steps should be taken:
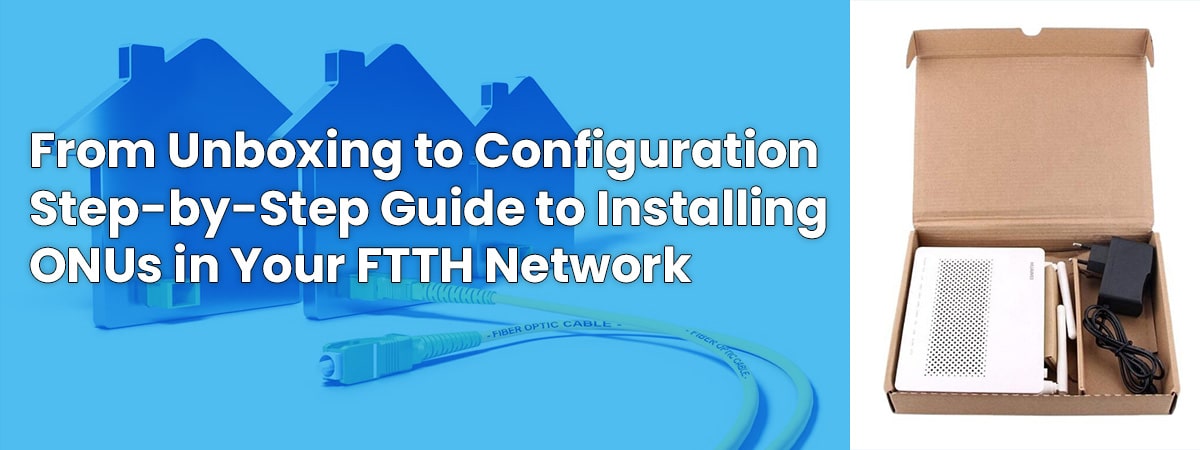
Step 1: Unpack the ONU and check for any visible damage or defects.
Step 2: Mount the ONU in the desired location, using the appropriate mounting hardware.
Step 3: Connect the ONU to a power source, using the supplied power adapter.
Step 4: Connect the ONU to the network, using the supplied Ethernet cable.
Step 5: Check the ONU status lights to confirm that it’s functioning correctly.
ONU Configuration
After the ONU has been installed, it will need to be configured. The specific configuration steps will depend on the ONU model and the service provider, but the following steps are typically involved:
Step 1: Access the ONU configuration interface, using a web browser and the ONU’s IP address.
Step 2: Enter the login credentials provided by the service provider.
Step 3: Configure the basic ONU settings, such as the time zone, language, and user interface.
Step 4: Configure the WAN settings, such as the connection type (DHCP, PPPoE, static IP, etc.), IP address, subnet mask, and default gateway.
Step 5: Configure the LAN settings, such as the IP address range and DHCP server settings.
Step 6: Configure any additional features or settings required by the service provider, such as Quality of Service (QoS) settings or voice service settings.
Step 7: Save the configuration changes and reboot the ONU.
Troubleshooting ONU Installation and Configuration Issues
Despite careful installation and configuration, ONUs can still experience problems that require troubleshooting. The following steps should be taken if issues arise:
Step 1: Check the ONU status lights to confirm that it’s functioning correctly.
Step 2: Check the ONU configuration settings to ensure that they’re correct.
Step 3: Restart the ONU and check if the issue has been resolved.
Step 4: Contact the service provider for assistance if the issue persists.
In conclusion, proper installation and configuration of ONUs is essential for ensuring reliable service and optimal performance in FTTH networks.